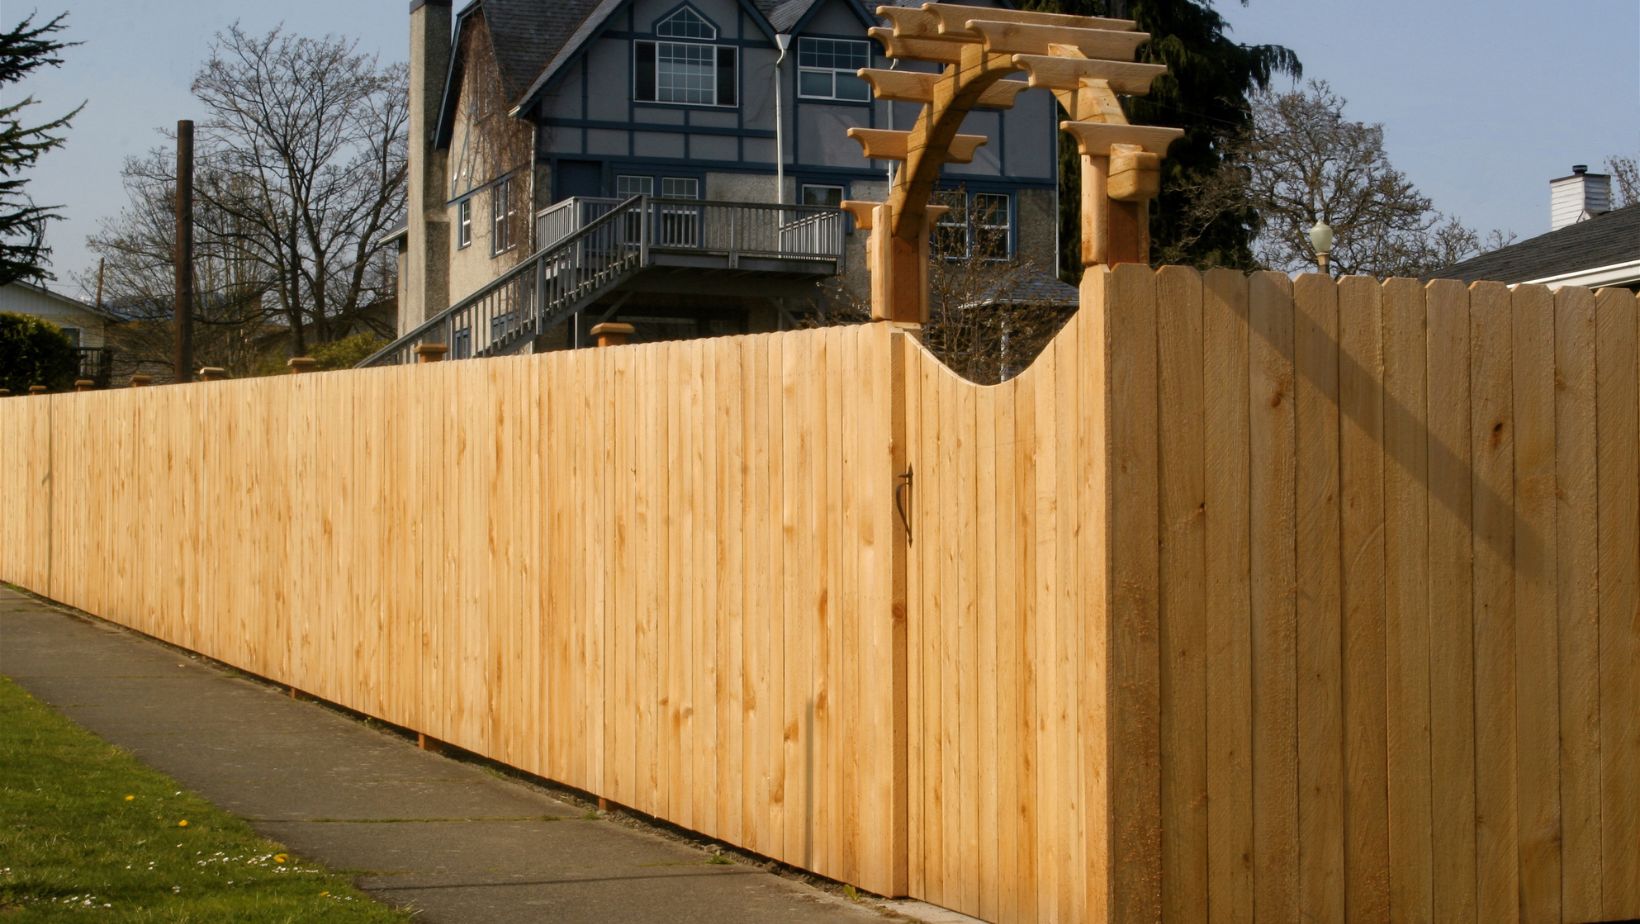
A privacy fence can enhance the security and serenity of your home while providing a sense of seclusion from the outside world. Whether you want to enjoy your outdoor space without prying eyes or create a safe haven for your family, building a privacy fence can be a satisfying DIY project. In this article, we’ll guide you through the steps of building a privacy fence, ensuring both functionality and aesthetics.

Planning Your Privacy Fence
The first step in building a privacy fence is meticulous planning. Proper planning ensures that your fence meets your needs and complies with local regulations.
- Check Local Regulations: Before you begin, check with your local building department or homeowners’ association to understand any rules and regulations governing fence height, materials, and placement. Failure to comply can lead to costly setbacks and disputes.
- Choose the Right Materials: The choice of materials largely depends on your budget and the look you desire. Common materials for privacy fences include wood, vinyl, metal, and composite materials. Each has its own advantages and disadvantages in terms of durability, maintenance, and aesthetics.
- Measure Your Property: Accurate measurements of your property are essential. Use a measuring tape to determine the total length of the fence, and mark the corners and end points where the fence will begin and end. Be sure to account for any obstacles or changes in terrain that may affect the fence line.
- Set a Budget: Establish a budget for your project, taking into account not only the cost of materials but also any additional tools or equipment you might need.
Gathering the Necessary Tools and Materials
Once you’ve planned your privacy fence, gather the tools and materials you’ll need to bring your vision to life.
- Tools:
- Post hole digger or auger
- Level
- Measuring tape
- Mallet or hammer
- Saw (if you need to cut materials)
- Screwdriver or drill
- Shovel
- Safety gear, including gloves and eye protection
- Materials:
- Fence posts
- Fence panels or pickets
- Rails
- Concrete mix
- Nails or screws
- Hinges and latch (if creating a gate)
- Optional Materials:
- Gravel (for drainage)
- Stain or paint (for finishing)
Installing Your Privacy Fence
With your materials and tools ready, you can proceed to install your privacy fence. The specific steps will vary depending on the materials you’ve chosen and your design, but here are the general steps to follow:
- Mark the Fence Line: Use stakes and string to mark the fence line, ensuring it follows your property boundary. This guideline will help you keep your fence straight and level.
- Dig Fence Post Holes: Use a post hole digger or auger to dig holes for your fence posts. The depth and diameter of these holes will depend on the height and style of your fence. Typically, a 6-foot privacy fence requires holes about 2 feet deep and 6 inches in diameter.
- Install Fence Posts: Place the fence posts in the holes, ensuring they are level and aligned. Add concrete mix around the base of each post and follow the manufacturer’s instructions for curing.
- Attach Rails and Panels/Pickets: Attach horizontal rails between the posts at the top and bottom, creating a frame for your fence. Then, attach your fence panels or pickets to the rails. The method will vary depending on your chosen material. For wood, you can use nails or screws.
- Secure Gates: If your design includes a gate, follow the manufacturer’s instructions to install hinges and a latch securely. Ensure the gate is level and swings freely.
- Finishing Touches: To enhance the appearance and longevity of your privacy fence, consider staining or painting it. This step is optional but can add to the fence’s aesthetic appeal and protection.
Maintaining Your Privacy Fence
Building a privacy fence is an investment that requires ongoing maintenance to ensure its longevity and functionality. Regular upkeep can prevent issues like rot, rust, and sagging.
- Inspect Regularly: Perform routine inspections to check for loose or damaged components. Address any issues promptly to prevent further damage.
- Clean as Needed: Depending on the material, your fence may need occasional cleaning. Use a pressure washer or a hose and a brush to remove dirt and grime.
- Seal or Paint: If you have a wooden fence, consider resealing or repainting it every few years to protect it from the elements.
- Lubricate Gate Hardware: If your fence includes a gate, lubricate the hinges and latch to ensure smooth operation.
- Prune Nearby Vegetation: Trim back any shrubs or trees that may come into contact with your fence to prevent damage and maintain your fence’s structural integrity.
Conclusion
Building a privacy fence can provide security, privacy, and aesthetic enhancement to your property. Proper planning, the right tools and materials, and a clear installation process are essential for a successful project. Regular maintenance will ensure that your fence remains in excellent condition for years to come. By following these steps, you can create a barrier that not only defines your space but also adds to the beauty and functionality of your outdoor living area.


